/filters:quality(90)/0x150:1920x450/prod01/tudublin-cdn-pxl/media/website/research/images/Header-Image-Lazers-FOCAS-2.png)
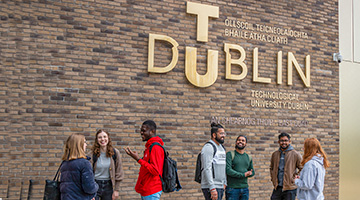
TU Dublin hosts a thriving research community engaged in designing innovative technological solutions, generating scientific insights, influencing policymakers, and reflecting on and contributing to the creative life of Ireland and abroad. This is aligned with our vision of solving the world’s most pressing problems and championing these issues at local, national, and global level. We actively support research and innovation activity from across the broad spectrum of disciplines pursued across all five TU Dublin faculties. We identify in our R and I strategy a set of five research priorities, aligned to selected SDGs, where we believe that coalescing our efforts in a transdisciplinary manner will focus and amplify the excellence and impact of our work.
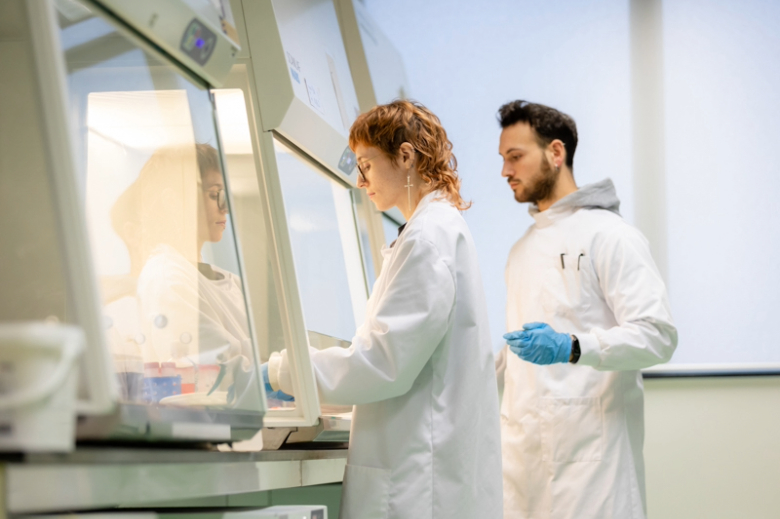
Our People
Our researchers provide deep insights and solutions that are transforming and sustaining society through knowledge creation, underpinned by novel theoretical concepts and often with a practical and practice-based approach.
Read More
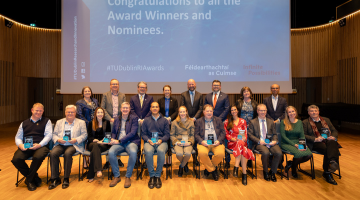
Research and Innovation Awards
The aim of the awards is to recognise and reward the positive contributions of the research & innovation community in the pursuit of their goals in pushing the boundaries of knowledge to create a better world for all.
Read More
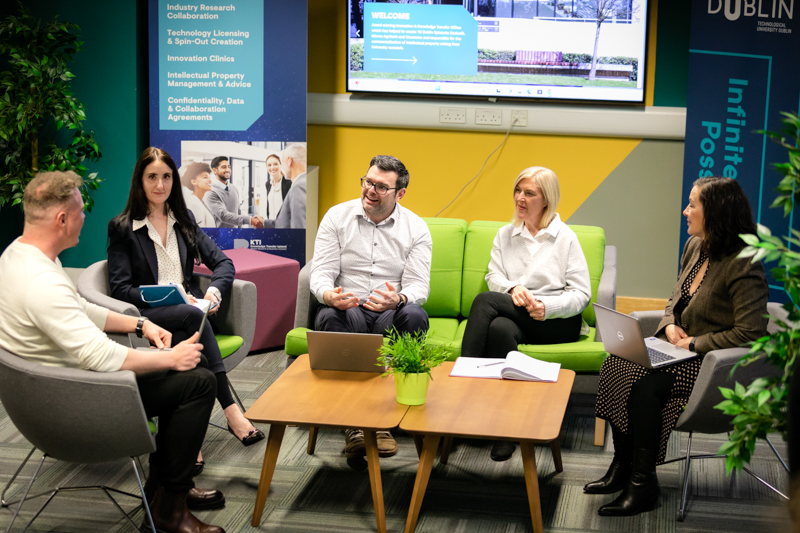
Collaborations
We have strong collaborative research relationships with partners in business, industry, with government and non-government organisations and communities. We have experienced teams to match your needs to our research expertise and facilities.
Read More

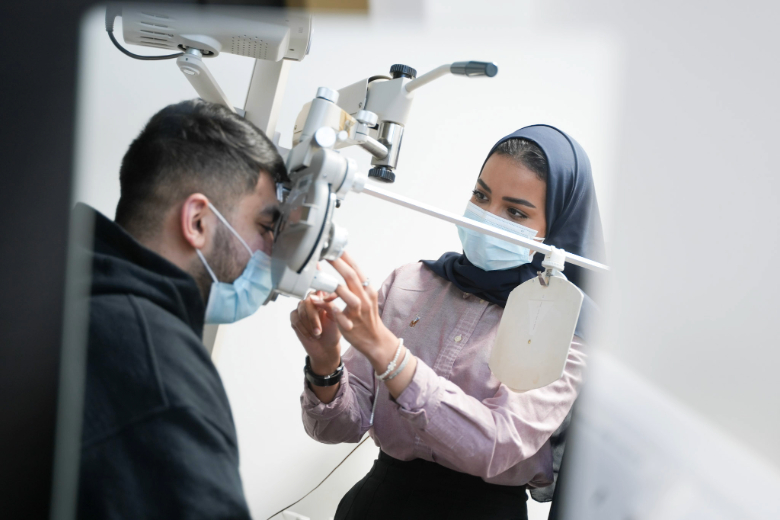
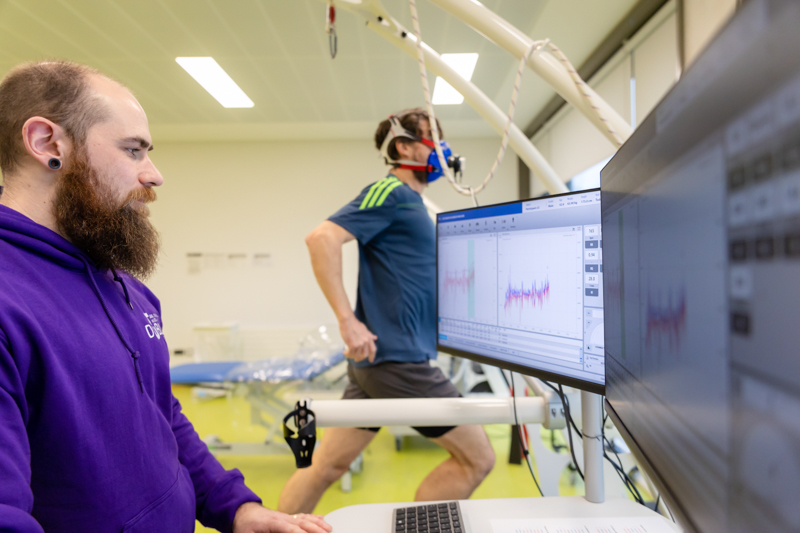
Facilities
Our experts deliver trusted results, generate new knowledge, & develop groundbreaking solutions to real-world challenges in state-of-the-art research facilities & laboratories specialised equipment. We facilitate collaborative research projects, experiments, data capture & analysis.
Read More
Postgraduate Research
Our research degree programmes provide you with the opportunity to work with leading research academics in addressing some of the worlds most pressing challenges. You will become part of a vibrant community & develop your research skills in a dynamic supportive environment.
Read More
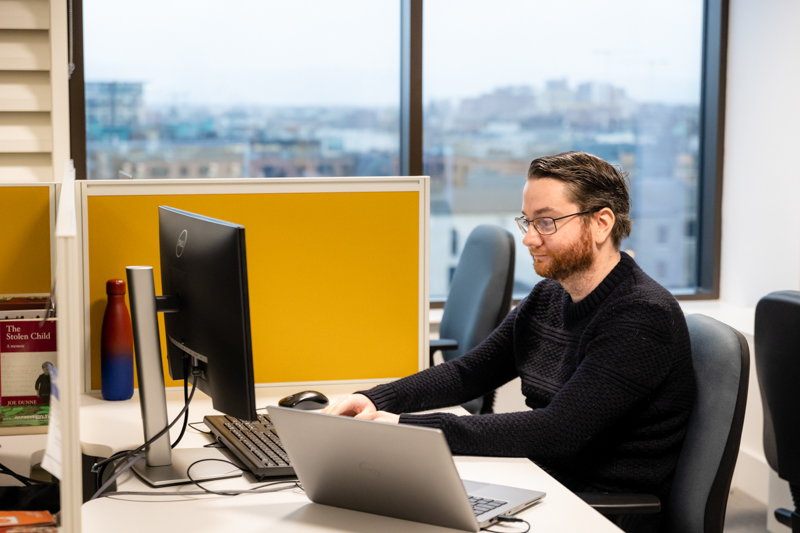
Support for Researchers
The R&I team provides dedicated, specialist support to help researchers develop proposals, manage projects, disseminate their findings, and bring their research to a commercial or societal application.
Read More
What's New?
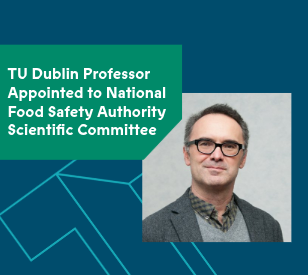

Impact Case Studies
Our impact case studies below highlight tangible outcomes and transformative solutions from our research endeavours.
View all Case Studies.

Research and Innovation at a Glance
400+
Research Projects
€700m
Economic Value
20,000+
Citations
400+
Sustainable Businesses